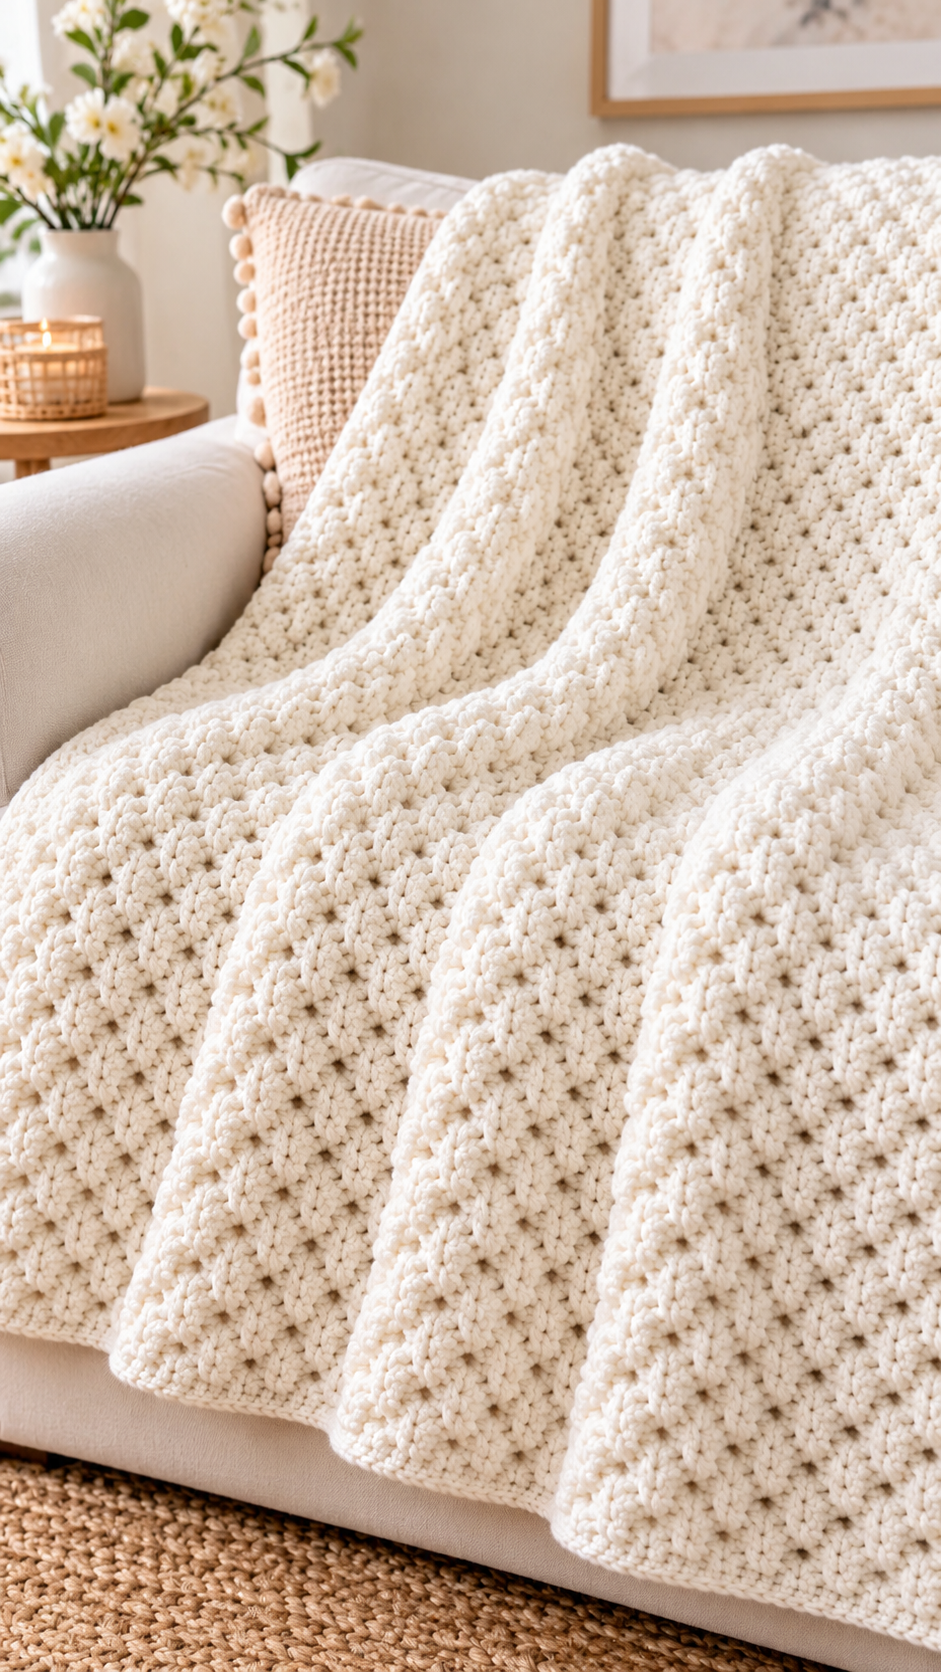

Skill Level: Easy to Intermediate Stitch Style: Raised Cluster Texture Finished Size: Approximately 50 × 60 inches (127 × 152 cm)
The blanket in the reference image has a thick, plush, raised texture resembling clustered or puff stitches. The exact stitch construction cannot be confirmed from the photo alone, but this pattern recreates a similar luxurious appearance.
Materials
- 8–10 skeins of super bulky ivory yarn (Category 6), approximately 900–1,200 yards total
- 10 mm crochet hook, adjusted for your tension
- Scissors
- Large yarn needle
Abbreviations (US Terms)
- CH – Chain
- SC – Single Crochet
- HDC – Half Double Crochet
- DC – Double Crochet
- YO – Yarn Over
- ST – Stitch
- SL ST – Slip Stitch
- PUFF – Puff Stitch
Special Stitch: Puff Stitch
YO, insert hook into the indicated stitch, pull up a long loop. Repeat this action 3 more times in the same stitch. YO and pull through all loops on the hook, then CH 1 to secure the puff.
The closing chain counts as part of the puff stitch, not as an additional pattern stitch.
Step-by-Step Instructions
Step 1: Foundation Chain
CH 82 loosely, or adjust the number of chains to achieve your preferred blanket width.
Step 2: Foundation Row
HDC in the second chain from the hook and in every chain across.
You should have 81 HDC stitches.
CH 1 and turn.
Step 3: Textured Puff Row
Work the following sequence:
- SC in the first stitch.
- Work a PUFF in the next stitch.
- SC in the next stitch.
- Repeat the alternating PUFF and SC sequence across the row.
- Finish with SC in the last stitch.
CH 1 and turn.
Step 4: Stabilizing Row
HDC in every stitch across, working into the top of each puff and each SC rather than into the puff’s closing chain.
CH 1 and turn.
Step 5: Repeat the Pattern
Repeat the textured puff row and stabilizing row until the blanket reaches approximately 60 inches long.
Keep the puffs facing the same side of the blanket so the raised texture remains consistent.
Step 6: Crochet Border
Round 1: Work SC evenly around all four sides, placing 3 SC in each corner.
Round 2: Work HDC around the entire blanket, placing 3 HDC in each corner.
Round 3: Work SC around for a clean, thick edge.
SL ST to join, fasten off, and weave in all ends.
Final Result
Your finished blanket should feature a beautiful raised, plush texture with soft ivory yarn and neatly finished edges.
Drape the blanket over a large cream-colored armchair, allowing it to fall naturally over the backrest, seat, and front edge, just like the reference image.
Important: This is a photo-inspired puff-stitch pattern, not a verified exact reconstruction. Make a small swatch first to check the texture and calculate your starting chain for the desired width.
