
Materials
- Orange worsted-weight yarn
- Dark brown yarn for the stem
- Crochet hook suitable for your yarn
- Tapestry needle
- Stitch marker
- Fiberfill stuffing
- Small battery-operated LED tea light
- Optional: thin plastic or wire support to keep the pumpkin firm
Pumpkin Body
Work in continuous rounds.
Round 1: Make a magic ring and crochet 6 single crochets (sc) into the ring.
Round 2: 2 sc in each stitch around — 12 sts.
Round 3: 1 sc, 2 sc in next stitch around — 18 sts.
Round 4: 2 sc, 2 sc in next stitch around — 24 sts.
Round 5: 3 sc, 2 sc in next stitch around — 30 sts.
Rounds 6–12: Sc in each stitch around.
Pumpkin Shape
To create the rounded pumpkin:
Round 13: 3 sc, sc2tog around — 24 sts.
Round 14: 2 sc, sc2tog around — 18 sts.
Round 15: 1 sc, sc2tog around — 12 sts.
Do not close completely yet.
Pumpkin Ridges
Using orange yarn, create raised vertical ribs by working long surface slip stitches or surface single-crochet lines from the top toward the bottom, evenly spacing them around the pumpkin. Pull the stitches slightly tighter to create the characteristic pumpkin sections.
Stem
Using brown yarn:
Round 1: 6 sc into a magic ring.
Rounds 2–5: Sc around.
Continue for a few more rounds if a longer stem is desired. Fasten off and sew the stem securely to the top.
Assembly
- Lightly stuff the pumpkin while keeping the center relatively open.
- Shape the pumpkin into a round, flattened form.
- Leave an opening at the bottom or center large enough for a small LED tea light.
- Place the battery-operated LED candle inside.
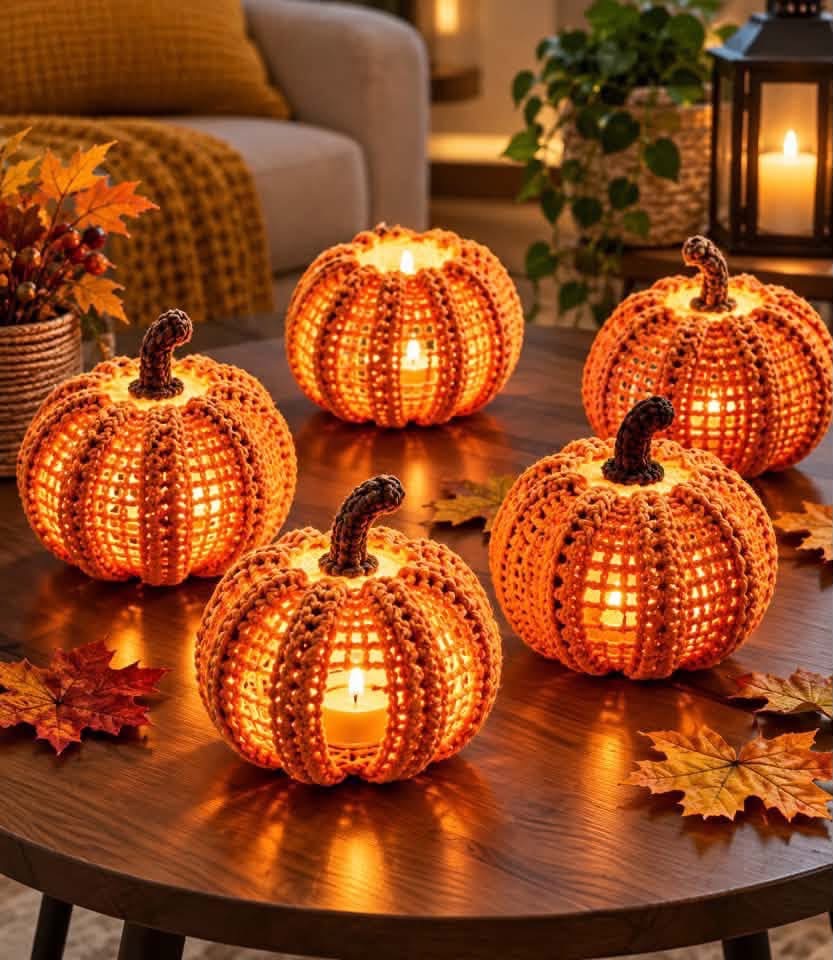
- Adjust the ridges so the light shines beautifully through the open crochet stitches.
Finishing
Weave in all ends and gently shape the pumpkin. Make several pumpkins in different sizes and arrange them together with autumn leaves for a warm fall centerpiece.
Safety: Use an LED/battery tea light rather than a real flame inside the crochet pumpkin.
