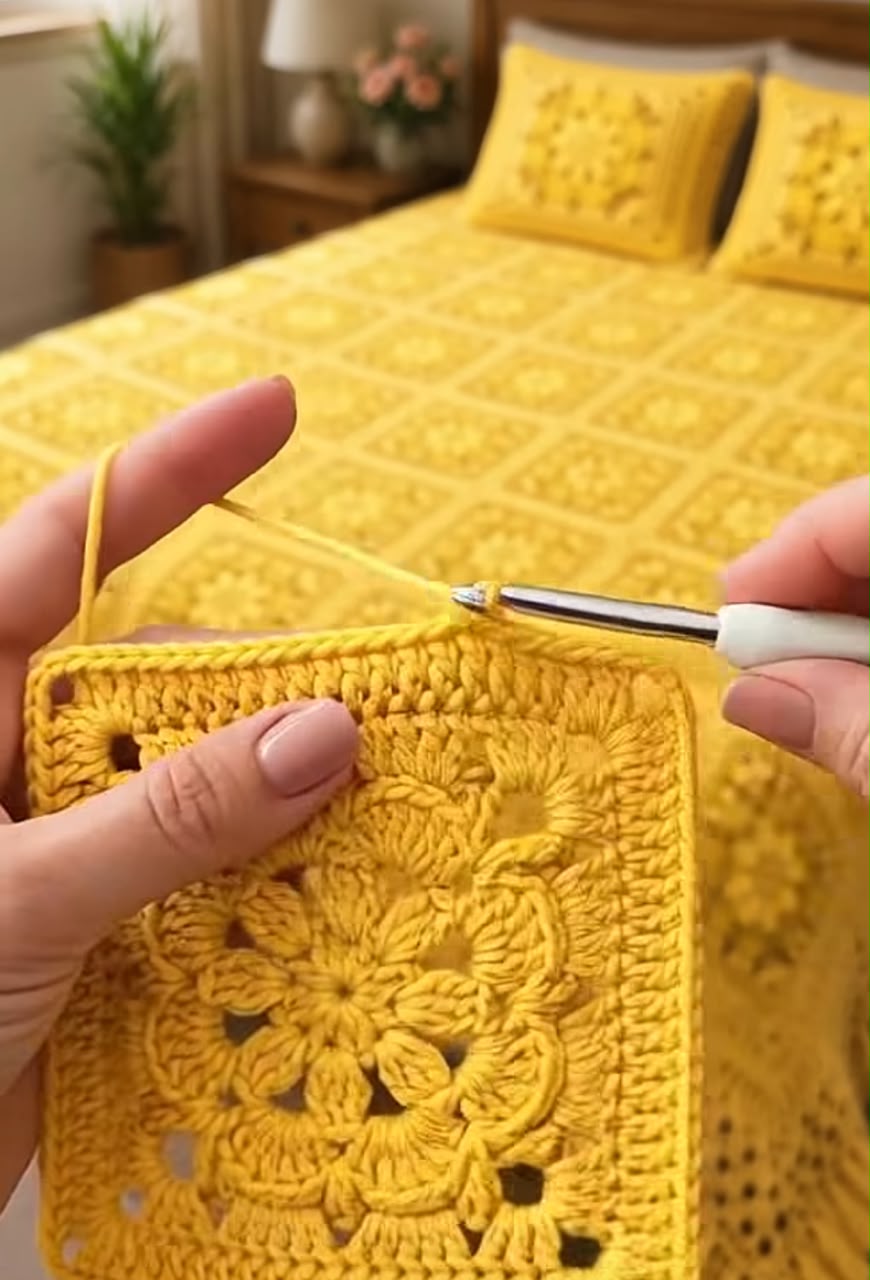

Skill level: Intermediate
Terminology: US crochet terms
Construction: Crochet the squares, add raised flowers, then join the motifs.
Materials
- DK or light worsted yarn in sunflower yellow
- 4 mm crochet hook, or a size that gives a flexible fabric
- Yarn needle and scissors
- Stitch markers
- Cushion inserts, if making matching pillows
Make one complete square before estimating yarn: weigh it, multiply by the number of squares, then add approximately 20% for joining and borders.
Abbreviations
- ch: chain
- sl st: slip stitch
- sc: single crochet
- hdc: half double crochet
- dc: double crochet
- tr: treble crochet
- BLO: back loop only
- sp: space
- st: stitch
Beginning ch 3 counts as a dc. Join rounds with a sl st unless otherwise stated.
1. Square Background
This simple square provides a stable backing for the raised flower.
Round 1: Make a magic ring. Ch 3, work 2 dc into ring, ch 2. Work (3 dc, ch 2) three more times. Join to top of beginning ch 3. Tighten ring.
Count: 12 dc and four corner spaces.
Round 2: Sl st to the next corner. Ch 3, work (1 dc, ch 2, 2 dc) into that corner. Dc in each stitch to the next corner. Work (2 dc, ch 2, 2 dc) in each remaining corner, with dc in every stitch between corners. Join.
Count: 28 dc; seven dc along each side between corner spaces.
Rounds 3–6: Repeat Round 2, working one dc in every stitch and (2 dc, ch 2, 2 dc) in every corner.
| Round | Dc per side | Total dc |
| 3 | 11 | 44 |
| 4 | 15 | 60 |
| 5 | 19 | 76 |
| 6 | 23 | 92 |
Round 7: Ch 1. Sc in each dc around, working (sc, ch 2, sc) in each corner space. Join and fasten off.
Count: 25 sc per side, plus four ch-2 corners.
Block the square flat. If necessary, add more dc rounds before the final sc round so the flower fits comfortably within the square.
2. Raised Flower Center
The front loops left unused below will hold the smaller petals.
Round 1: Make a magic ring. Ch 1, work 8 sc into ring. Join.
Count: 8 sc.
Round 2: Ch 1, work 2 sc in each stitch around. Join.
Count: 16 sc.
Round 3: Working in BLO, ch 1, then (sc in next stitch, 2 sc in next stitch) eight times. Join.
Count: 24 sc.
Round 4 — Large-petal foundations: Ch 1, sc in first stitch, ch 5, skip next two stitches. Repeat (sc in next stitch, ch 5, skip next two stitches) seven times. Join to first sc.
Count: Eight ch-5 loops.
Round 5 — Large petals: Into each ch-5 loop work:
(sl st, sc, hdc, 2 dc, 3 tr, 2 dc, hdc, sc, sl st).
Repeat around to make eight petals. Fasten off, leaving a long sewing tail.
3. Smaller Front Petals
With the flower facing you, attach yarn to any unused front loop from Round 2.
Foundation: Ch 1, sc in that front loop, ch 3, skip the next front loop. Repeat (sc in next front loop, ch 3, skip next front loop) seven times. Join.
Count: Eight ch-3 loops.
Into each loop work:
(sl st, sc, hdc, 3 dc, hdc, sc, sl st).
Fasten off and weave in this end.
Gently arrange the small petals over the large ones. For a fuller appearance, offset the two layers slightly when shaping them.
4. Attach the Flower
Center the flower on the square.
- Sew the center securely to the square using small stitches.
- Tack down the base of each large petal.
- Leave the petal tips free to preserve their raised shape.
- Keep the square flat while sewing; avoid pulling the thread tight.
Make all remaining motifs in the same way.
5. Plan the Bedspread
Measure your blocked square before choosing the layout.
Number of columns = desired width ÷ square width, rounded up.
Number of rows = desired length ÷ square height, rounded up.
For example, if each motif measures 20 × 20 cm:
| Layout | Size before border |
| 8 × 10 squares | 160 × 200 cm |
| 10 × 11 squares | 200 × 220 cm |
| 11 × 12 squares | 220 × 240 cm |
Lay out the squares with all flowers facing upward.
6. Join the Squares
For a neat, low-profile seam:
- Place two squares right sides together.
- Match their edge stitches and corners.
- Whipstitch through the outer loops along the adjoining edges.
- Join squares into rows, then join the rows.
Keep the seams relaxed so the bedspread drapes naturally.
7. Bedspread Border
Round 1: Attach yarn at an outer corner. Ch 1, sc evenly around, working (sc, ch 2, sc) at each outer corner. At joins, work only enough stitches to keep the edge flat. Join.
Round 2: Ch 3, dc in each stitch around. Work (2 dc, ch 2, 2 dc) in each corner. Join.
Round 3: Ch 1, sc around, working (sc, ch 2, sc) in each corner. Join.
Round 4 — Scallops: Along each side, repeat:
Skip 2 stitches, 5 dc in next stitch, skip 2 stitches, sl st in next stitch.
At each corner, work 7 dc into the corner space. Adjust the last repeat on each side by skipping one stitch instead of two as needed to reach the corner without pulling. Fasten off.
8. Matching Cushions
For a cushion with a floral front:
- Join enough flower squares to match the insert size. Four 20 cm squares make a front approximately 40 × 40 cm.
- Make an equally sized back using plain squares from Section 1.
- Place front and back wrong sides together.
- Sc through both layers along three sides, adding an extra stitch at corners if needed.
- Insert the cushion and close the fourth side with sc.
For a removable cover, leave the fourth side open and sew in a zipper.
Finishing: Weave in all ends and gently block to the finished dimensions. Shape the petals by hand and let them dry without flattening the raised layers.
