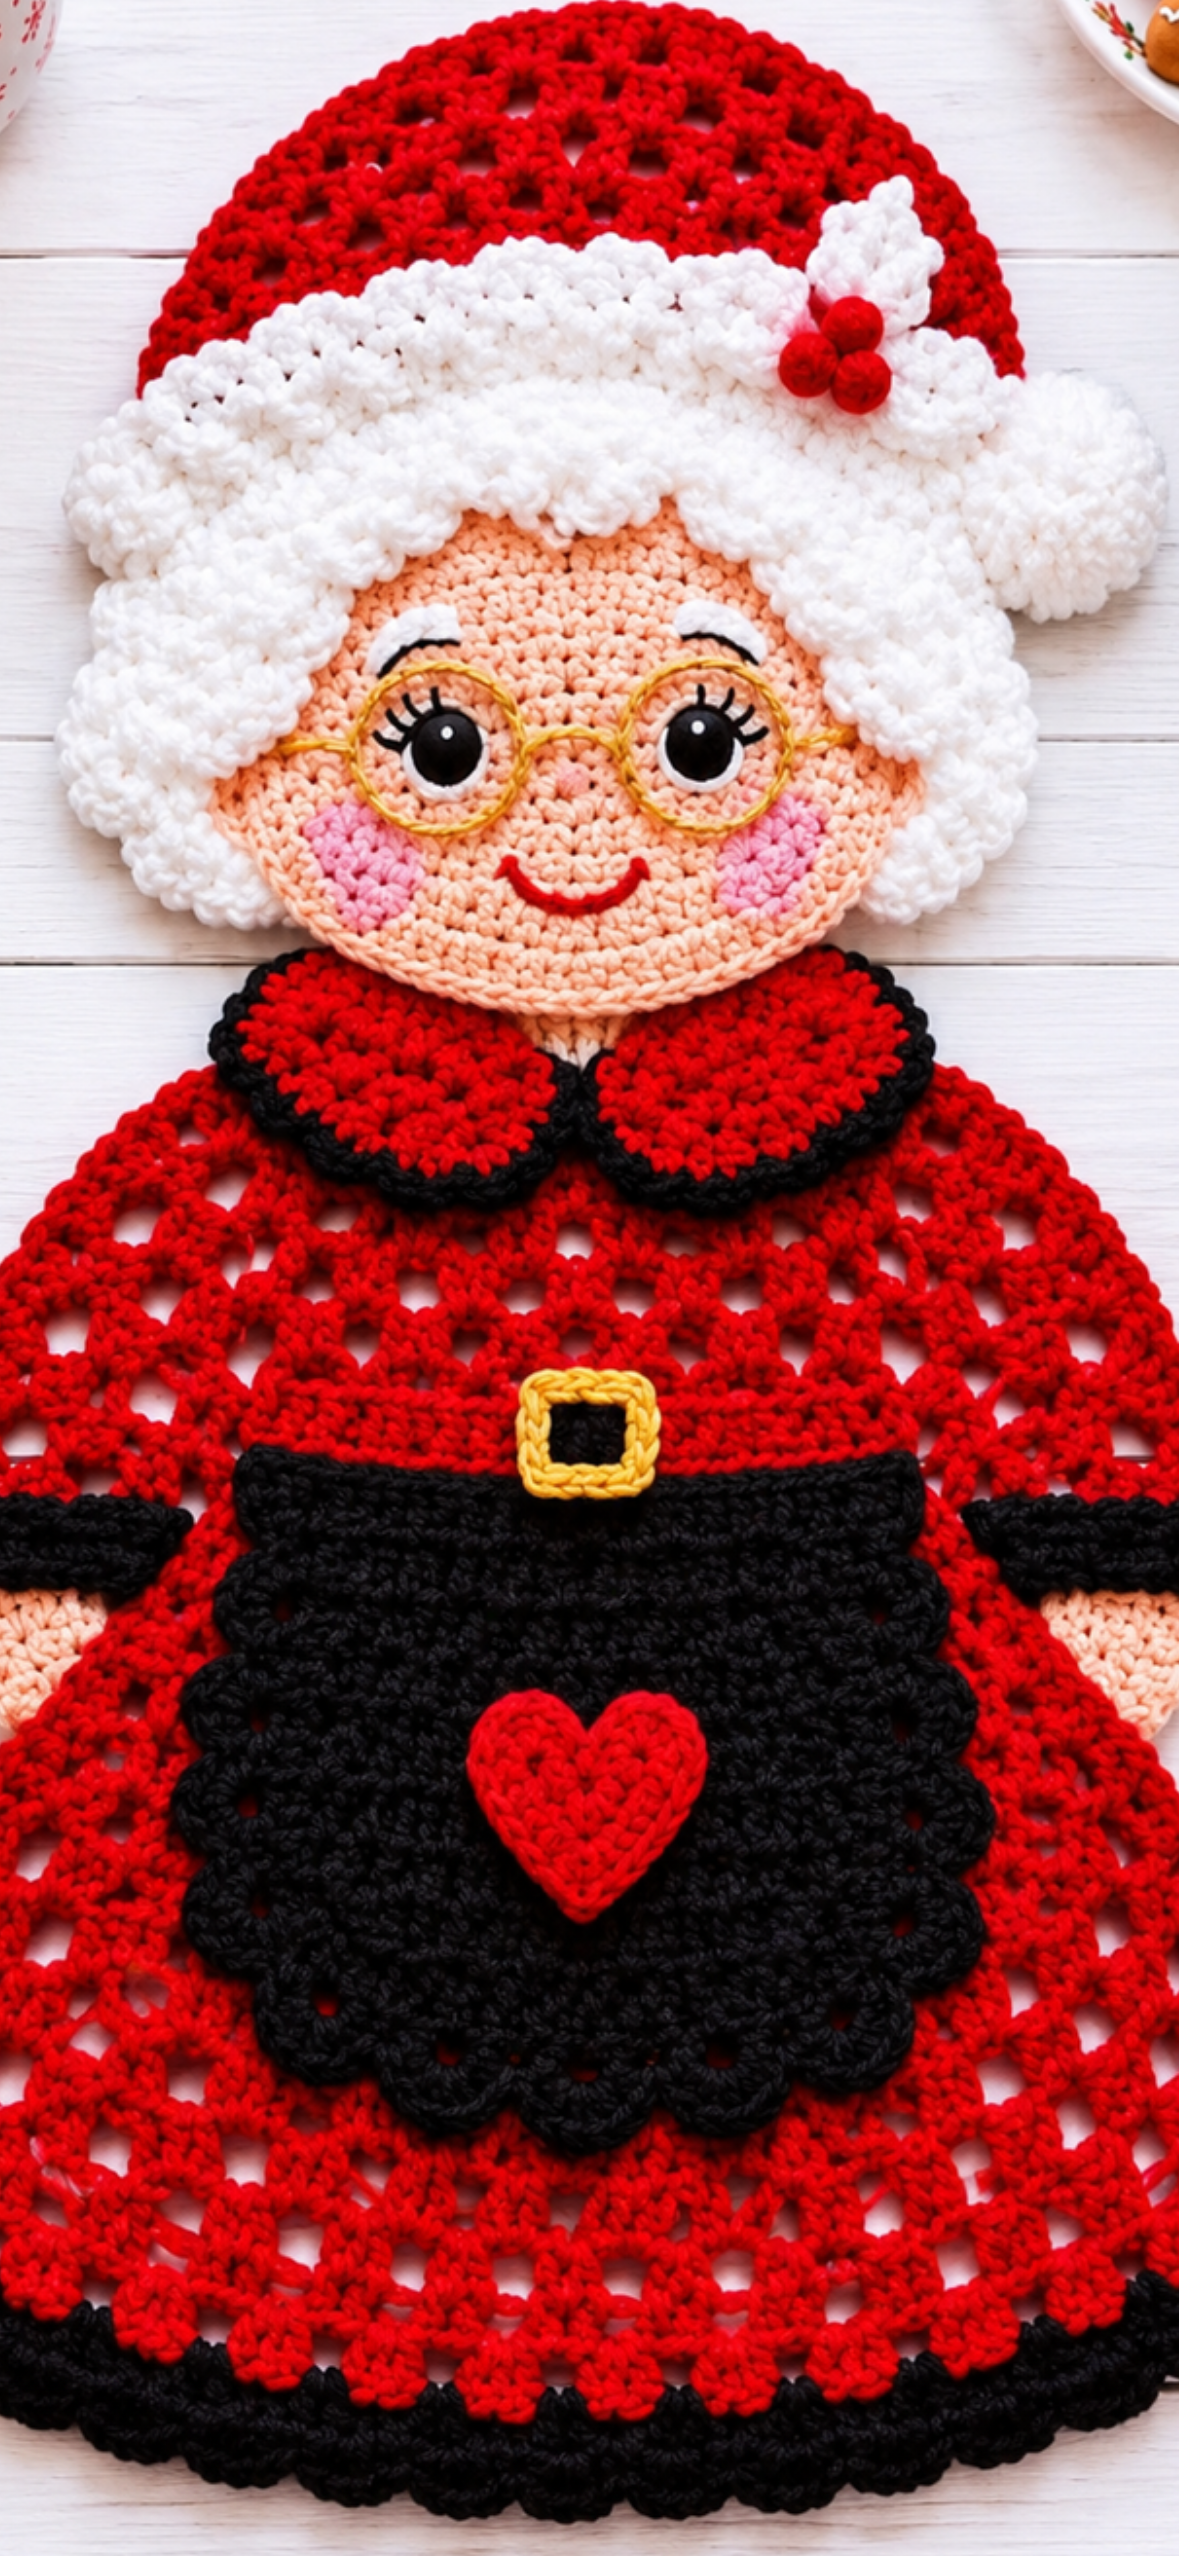

A beautiful handmade Mrs. Claus crochet appliqué featuring a red Christmas hat, fluffy white hair, golden glasses, a smiling face, a red lace dress, and a black apron decorated with a red heart.
Skill Level: Intermediate Crochet Terms: US English Finished Size: Approximately 35–45 cm, depending on yarn and hook size.
This is an original pattern inspired by the reference image, not the designer’s exact pattern. Some shaping and assembly adjustments may be needed.
Materials
- Red cotton yarn
- White fluffy yarn
- Skin-tone peach yarn
- Black yarn
- Pink yarn for cheeks
- Yellow or gold yarn for glasses and buckle
- 3.0–3.5 mm crochet hook
- Yarn needle and scissors
- Two black safety eyes or embroidered eyes
- Stitch markers
Crochet Abbreviations
| Abbreviation | Meaning |
| MR | Magic Ring |
| CH | Chain |
| SC | Single Crochet |
| HDC | Half Double Crochet |
| DC | Double Crochet |
| SL ST | Slip Stitch |
| INC | Increase |
| DEC | Decrease |
| SP | Space |
| FO | Fasten Off |
Step-by-Step Pattern
Part 1 – Mrs. Claus Face
Using peach yarn:
Round 1: MR, 6 SC. (6)
Round 2: INC in every stitch. (12)
Round 3: (SC, INC) repeat 6 times. (18)
Round 4: (2 SC, INC) repeat 6 times. (24)
Round 5: (3 SC, INC) repeat 6 times. (30)
Round 6: (4 SC, INC) repeat 6 times. (36)
Rounds 7–10: Continue increasing evenly by 6 stitches per round. (60)
For a larger face, continue increasing until the desired diameter.
Embroider a small red smile and pink cheeks. Add black eyes with embroidered eyelashes.
Part 2 – White Curly Hair
Using fluffy white yarn:
CH 30.
Row 1: Work 3 SC into each chain to create a curly strip.
Make 6–8 strips of different lengths.
Sew the curls around the face to form Mrs. Claus’s fluffy white hair.
Part 3 – Red Christmas Hat
Using red yarn:
Row 1: CH 35, DC across.
Rows 2–6: Work DC across, decreasing one stitch at each end of every row.
Rows 7–10: Continue decreasing to create the rounded top of the hat.
Attach a thick white crochet border using SC or HDC stitches.
Make a white pom-pom and sew it to the tip.
Part 4 – Red Lace Dress
Using red yarn:
Row 1: CH 30, DC across.
Row 2: CH 3, DC in the first stitch, CH 2, skip 2 stitches, DC in the next stitch. Repeat across.
Row 3: Work (2 DC, CH 2, 2 DC) into each CH-2 space.
Rows 4–12: Repeat the lace pattern, adding increases evenly at the sides to create a flared dress.
Final Row: Work a black scalloped border using 5 DC in alternating spaces, anchored with SC.
Part 5 – Sleeves and Hands
Using red yarn, make two sleeves.
CH 15.
Work 4 rows of DC, decreasing slightly toward the cuffs.
Attach black cuffs using 2 rows of SC.
For each hand, crochet a small peach oval and sew it beneath the cuff.
Attach both sleeves to the dress.
Part 6 – Black Apron
Using black yarn:
Row 1: CH 20, SC across.
Rows 2–10: Continue in SC, increasing at both ends every second row.
Border: Work a scalloped edge using 5 DC shells.
Sew the apron to the front of the dress.
Part 7 – Red Crochet Heart
Using red yarn:
- Make a magic ring.
- CH 3.
- Work 3 TR, 3 DC, CH 1, TR, CH 1, 3 DC, 3 TR into the ring.
- CH 3 and SL ST into the ring.
- Tighten and fasten off.
Sew the heart onto the center of the black apron.
Part 8 – Glasses and Belt
Glasses: Using thin golden yarn, crochet two small circular frames with chain stitches and connect them with a short chain bridge. Sew carefully around the eyes.
Belt: Crochet a black strip using SC and add a small golden rectangular buckle.
Final Assembly
- Sew the face beneath the Christmas hat.
- Attach the white hair around the face.
- Join the head to the red lace dress.
- Sew the sleeves and hands into position.
- Attach the black apron and red heart.
- Add the glasses, belt, and final decorative details.
- Block the finished piece gently so the dress lies flat.
Finishing tip: For a decorative wall hanging, attach a small crocheted loop behind the hat.
Note: This pattern is a simplified reconstruction. It will produce a similar Mrs. Claus appliqué, but not an exact stitch-for-stitch copy of the pictured design.
